Construction of a CB Model J
Page 3
Click on the
pictures for a larger version.

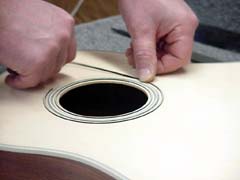
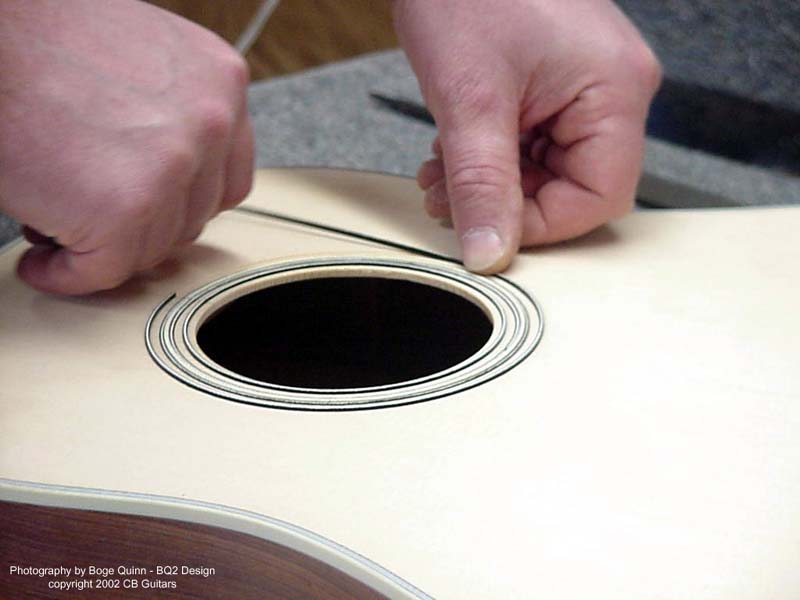
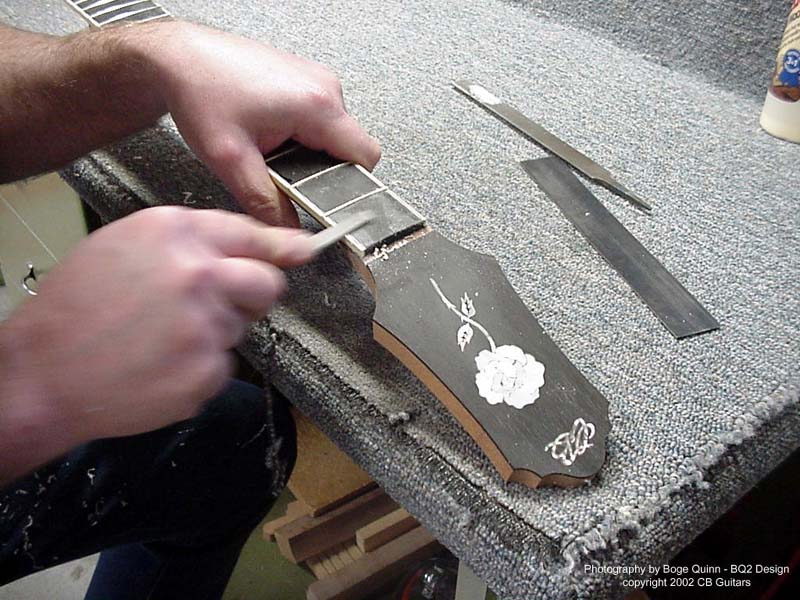
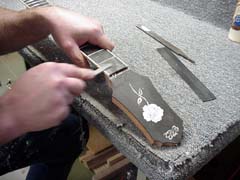
The rosette is inlaid into the
top. |
|
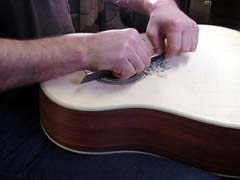
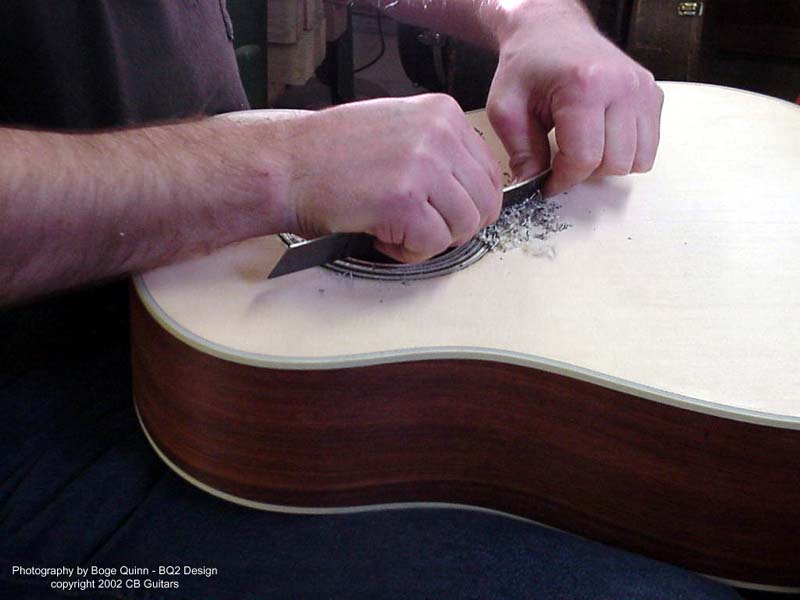
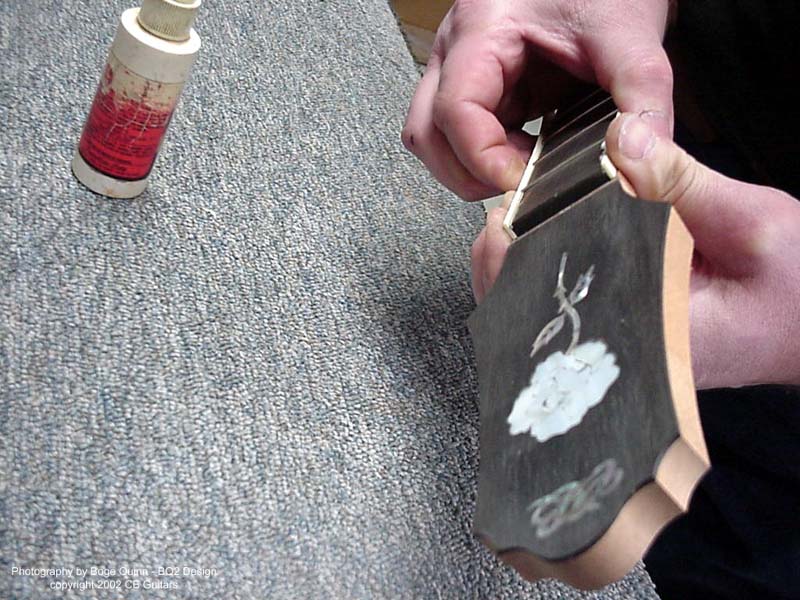
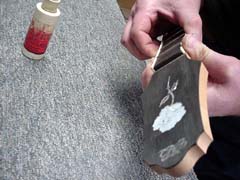
Chris uses a blade to scrape
the rosette even with the top. |
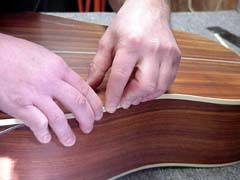
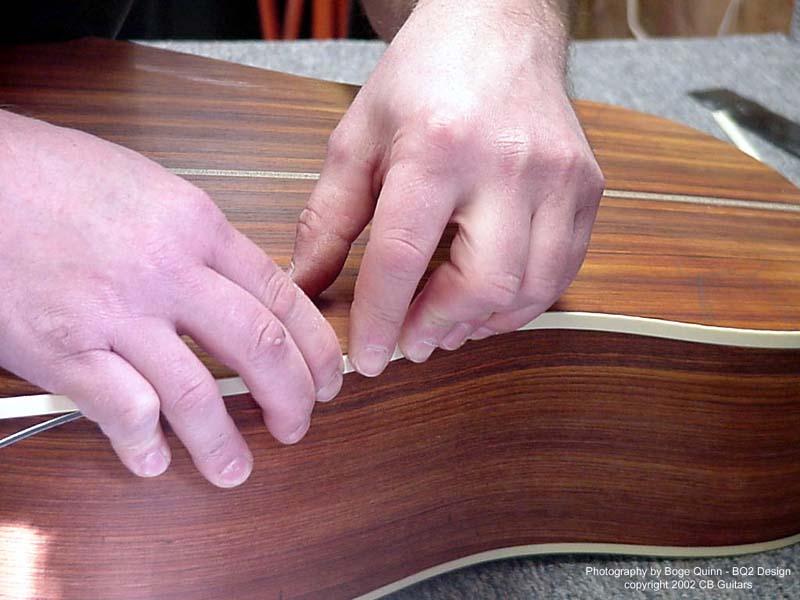
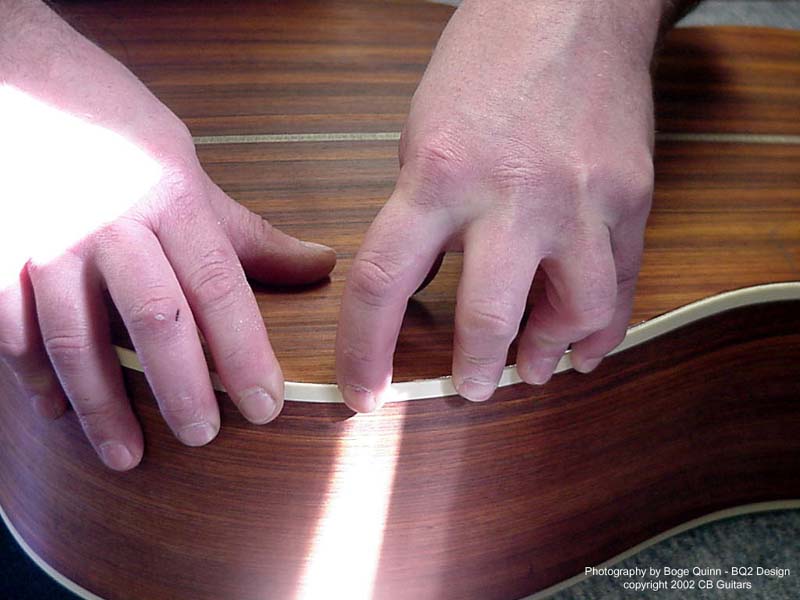
The binding procedure used for the top is
repeated around the back. |
|
 |
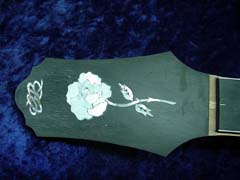
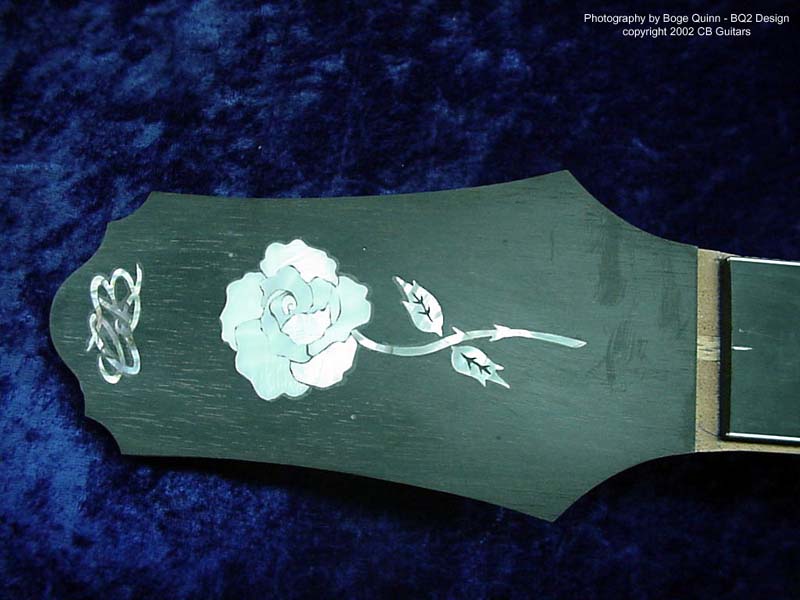
Detail shot of peghead
shows completed inlays.
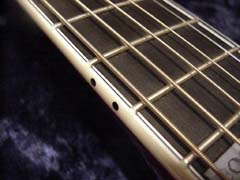
Inner purfling for fretboard
is shown, with space left
for outer fretboard binding.
Also visible are the pilot
marks for tuning machine
holes, and the centerline
mark for the fretboard.
|
|
The outer binding for the
fretboard is applied after
the inner purfling and frets
are installed. Note the
depth of extra binding
material left above the
frets, which will be leveled
and dressed to the frets.
|
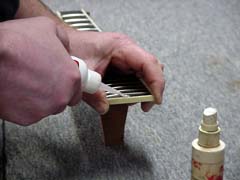
Chris fits the small piece of binding
at the end of the fretboard. |
|
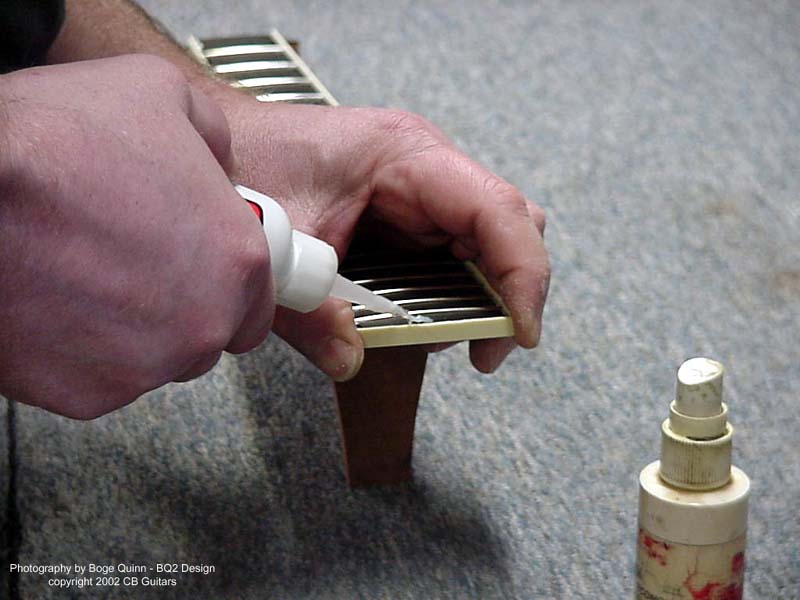
Once the epoxy for the
fretboard binding sets, Chris
uses a blade to scrape the
binding material even with the
tops of the frets. |
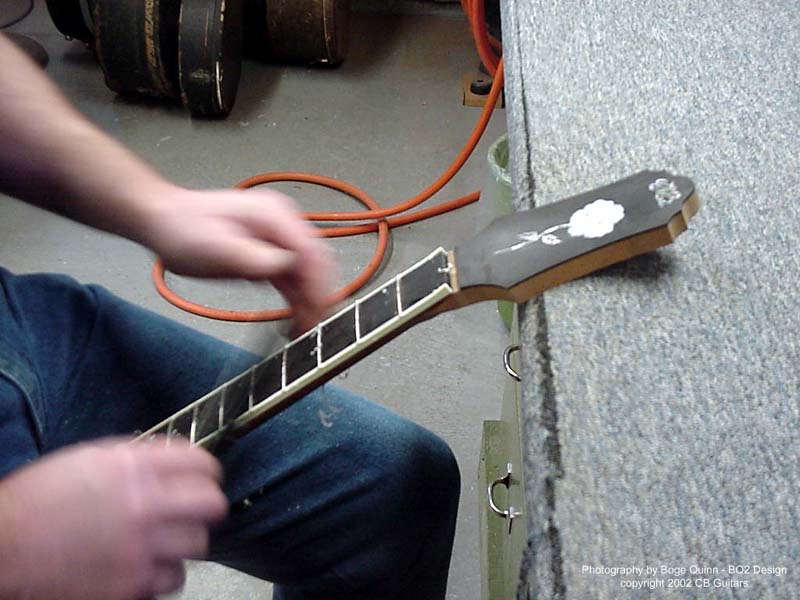
A small file is
then used to level
the binding to the
fretboard between
the frets, leaving
binding material
at the end of each
fret. |
|
Chris finishes
the fretboard
binding material
to the end of each
fret, rather than
dress the fret
ends over the edge
of the binding as
most makers do.
This not only
gives a much nicer
appearance, but it
also makes for a
much smoother
feel. Frets can
still be easily
replaced when
necessary without
damaging the
binding. |

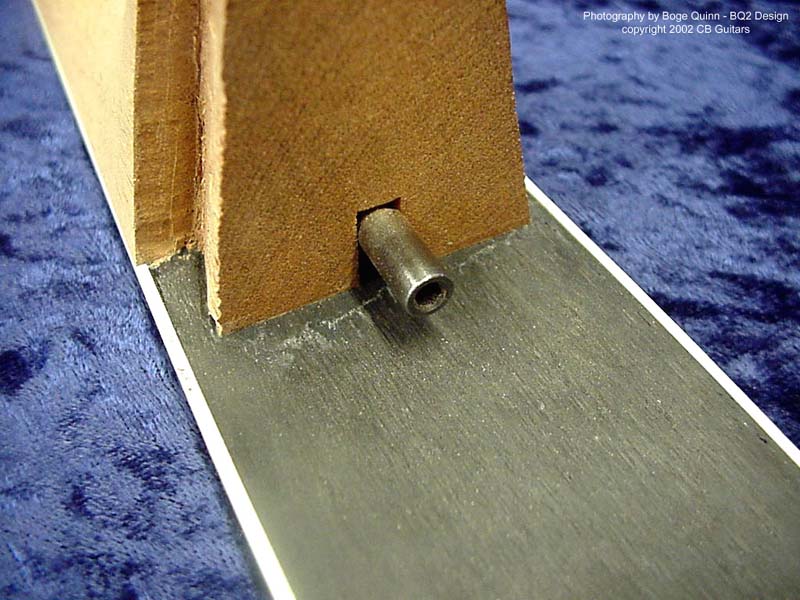
Detail shot of the underside of the
fretboard at the neck dovetail shows
Chris' adjustable truss rod. |
|
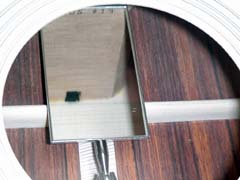
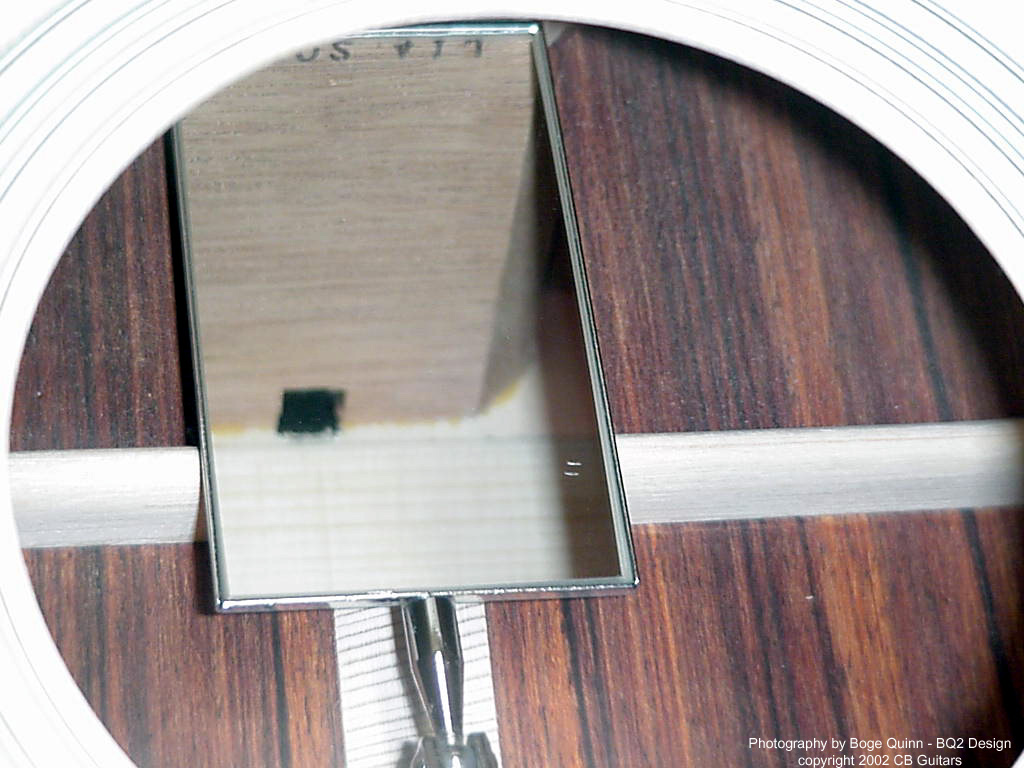
This picture, taken with a mirror looking at the underside of the top
at the neck block through the sound hole, shows access hole through the
neck block for truss rod adjustment. All CB guitars feature an adjustment nut
that is accessible through the end of the neck block by simply reaching
inside the guitar behind the transverse brace underneath the end of the
fretboard. This allows for
easily-accessible neck adjustment while maintaining the structural
integrity of the guitar by not drilling the transverse brace for truss rod
access as some manufacturers do, which
weakens the top at this critical stress
area. |
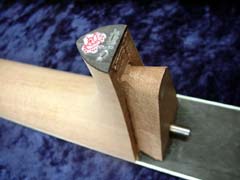
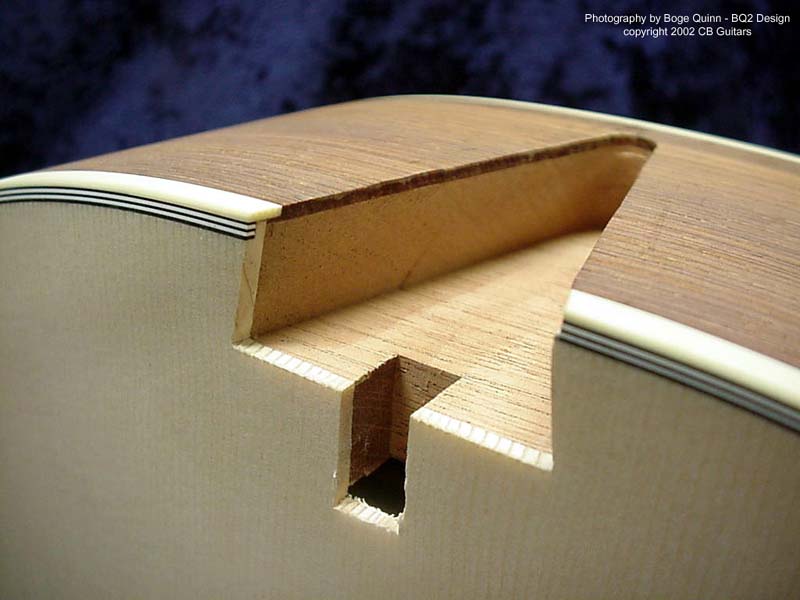
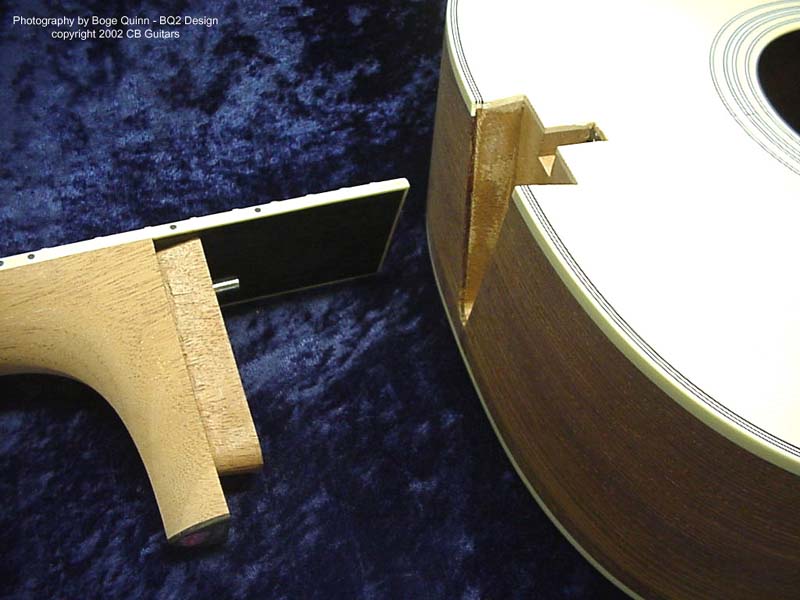
Detail shot of neck heel shows
the adjustable truss rod, neck
dovetail and heel cap inlay. |
|
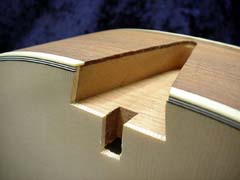
A dovetail is cut into the neck
block to receive the neck
dovetail. Great care must be taken
to insure that the neck dovetail
exactly fits this body dovetail,
and that the neck angle is set
correctly, as there is no margin
for error here. Also shown is the
notch for the adjustable truss
rod, and the routed ledges for top
binding and purfling are apparent. |

This picture of
the neck and body dovetails shown
together gives an idea how the
parts fit. While the traditional
dovetail neck joint is no longer
used by some of the major
manufacturers due to the
hand-fitting required, it is still
the best method for achieving a
strong, stable joint allowing
maximum sound transmission from
neck to body. |
Continue
to Next Page
Last modified: November 28, 2015
|