Construction of a CB Model J
Page 1
To help you better understand the construction of a CB Guitar,
we followed Chris over the course of several weeks through the construction of
one particular instrument, the very first CB Model J
guitar. We will show you
some of the intricacies involved in the making of a CB guitar, and some of the
careful craftsmanship and attention to detail that is the hallmark of every CB
instrument.
The input of the instrument's future owner is always welcome,
as it is important that there be clear communications between Chris and his
client so that all requirements of sound and appearance are completely
satisfied. While the CB line has standardized to en extent upon definable
models, CB instruments are custom-made to order. The playing style and
preferences of the client are taken into account so as to fully realize the
client's vision of a fine, custom-tailored instrument.
Click on the
pictures for a larger version.

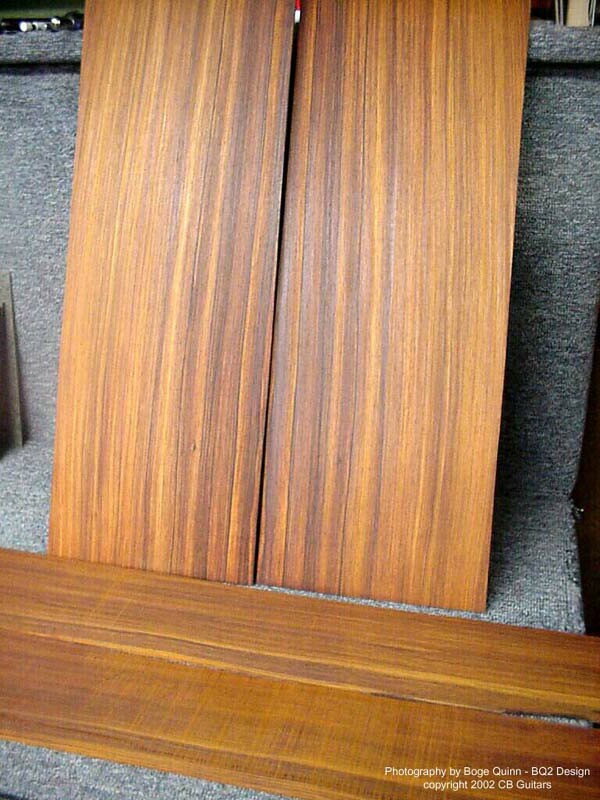
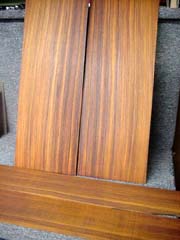 Every
CB instrument begins with the careful selection of woods. Chris
selects the woods for his instruments on the basis of tone potential
and beauty. This set of select grade Cocobolo is destined to become
part of an instrument that both Chris and the guitar's future owner
can be proud of. |
|
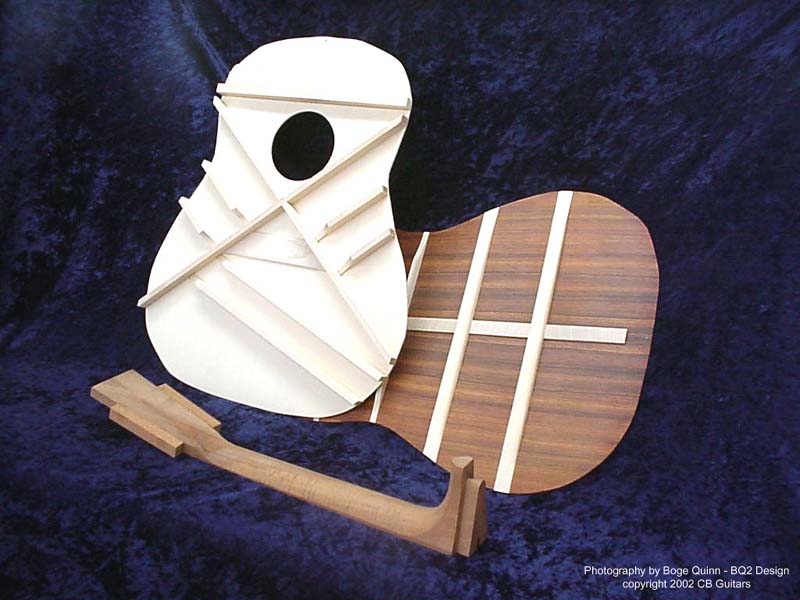
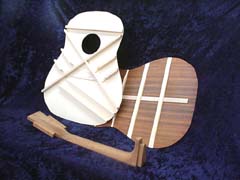 Shown
here are the rough-shaped Engelmann Spruce top with Sitka Spruce bracing stock
glued in place, joined back with hand-shaped Sitka Spruce ladder
braces, and rough-shaped neck with dovetail already cut. |
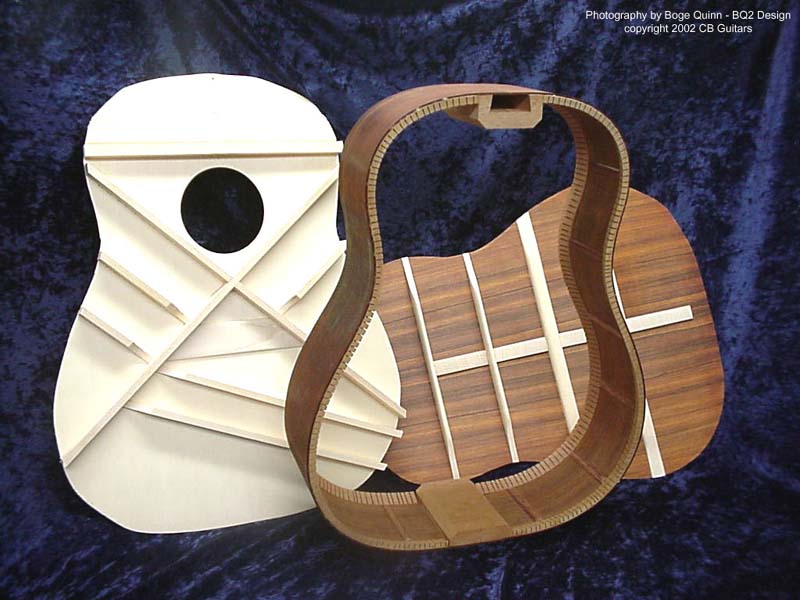
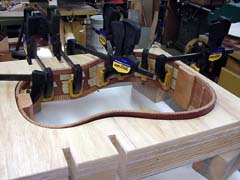 After
the sides are bent and allowed to set in the body form, the neck
block and tail block are glued in, along with the kerfed Mahogany
lining. Side supports are then glued onto the body as shown.
Material for the side supports is chosen to complement the tone
qualities of the material used for side wood; in the case of this
Cocobolo body, Southeast Asian Rosewood side supports are used. |
|
 Shown
along with the rough-shaped top and semi-completed back, the sides
are complete, with block set, lining, and side supports glued in
place. |
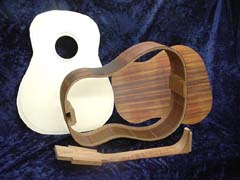 Rough
top has been routed for sound hole rosette. The back, while
semi-finished, does not yet have a back strip. Note the oily appearance
of the back and sides - Cocobolo is a very oily wood and must be
carefully degreased from time to time during construction, and great
care must be taken while gluing the Cocobolo. While this makes
Cocobolo somewhat harder to work with than other Rosewoods, it also
makes Cocobolo a very stable wood for the long term, much less
susceptible to drying out or cracking than other Rosewoods. |
|

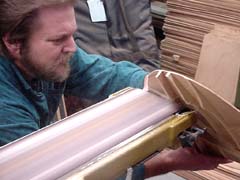
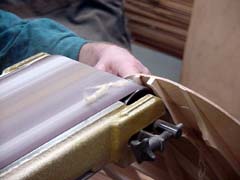
Chris removes
excess top wood with the band saw. This begins what is probably the most
critical single phase of the guitar's construction in terms of
sound potential: voicing the top. |

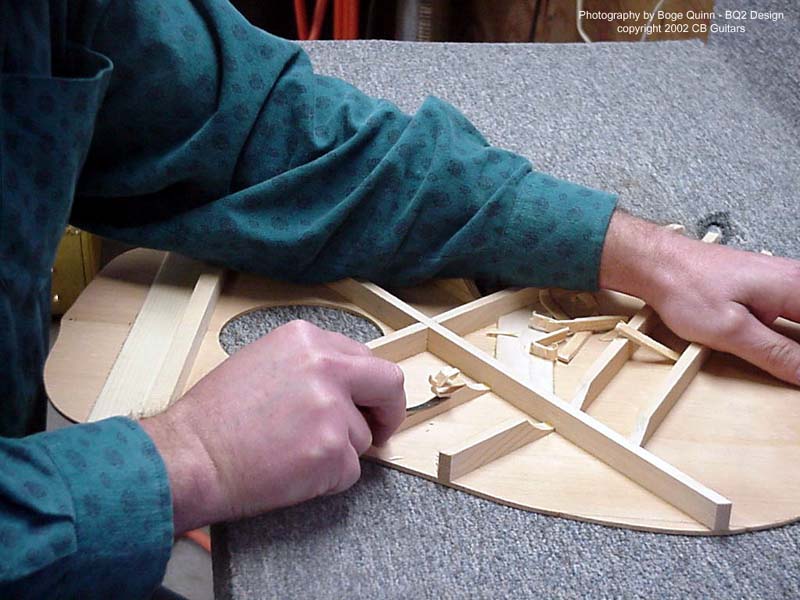
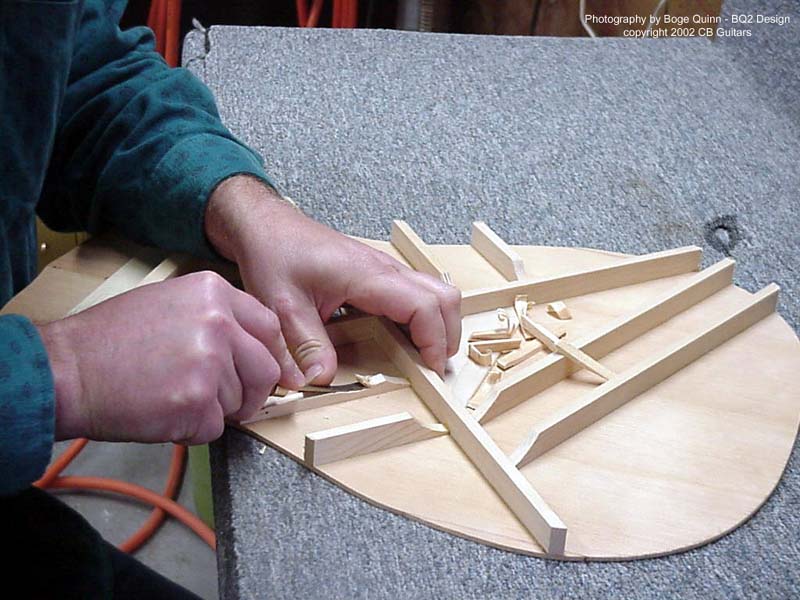
Chris begins by shaping the small braces on either side of
the main "X" brace. |
|
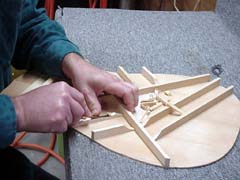
Using a small chisel, Chris carefully hand-shapes the
braces. |
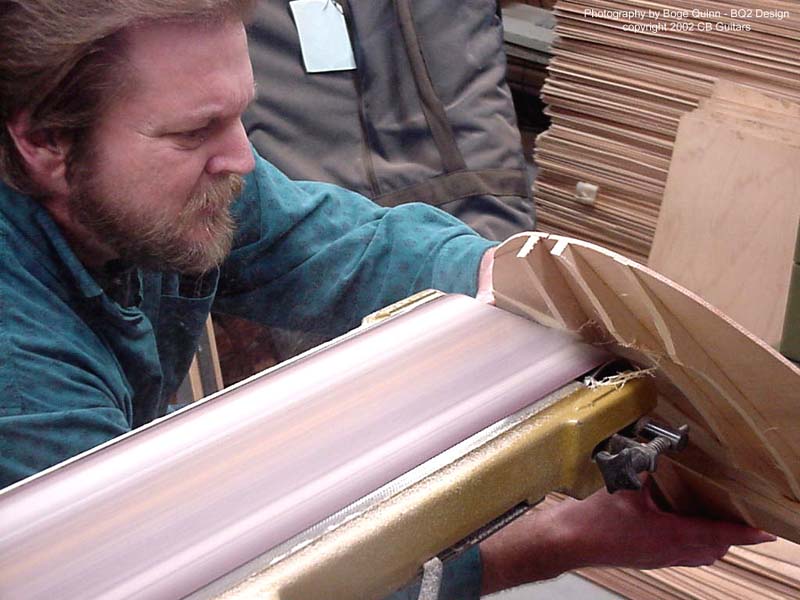
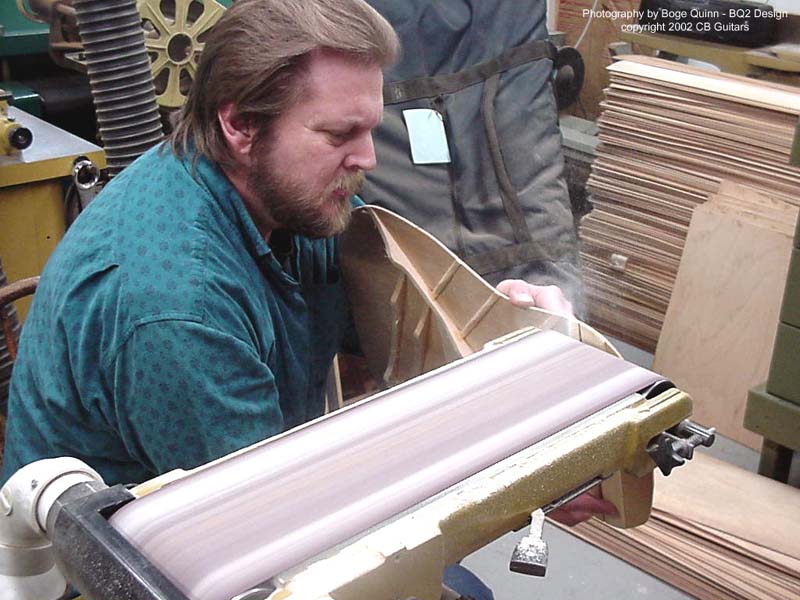
After the small braces are roughed-in, Chris
rough-shapes the main "X" braces and tone bars
on the belt sander. |
|
 Using
the belt sander for rough-shaping the larger braces
allows Chris to carefully control the rough shape of
the braces without any possibility of splitting the
spruce. It also allows Chris to remove a great deal of
excess wood in a short period of time. |
Continue
to Next Page
Last modified: November 28, 2015
|