Construction of a CB Model J
Page 2
Click on the
pictures for a larger version.

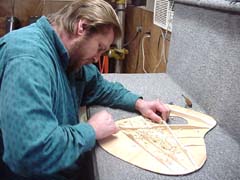
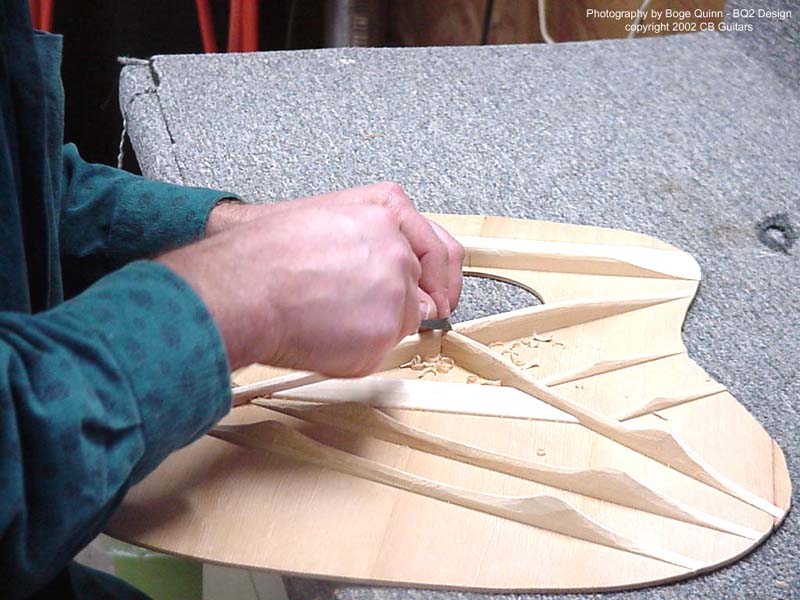
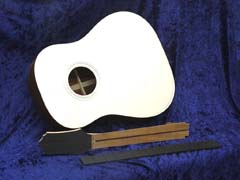
After the braces are rough-shaped, Chris
proceeds to contour the braces by hand using a
finger plane. |
|
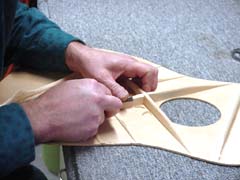
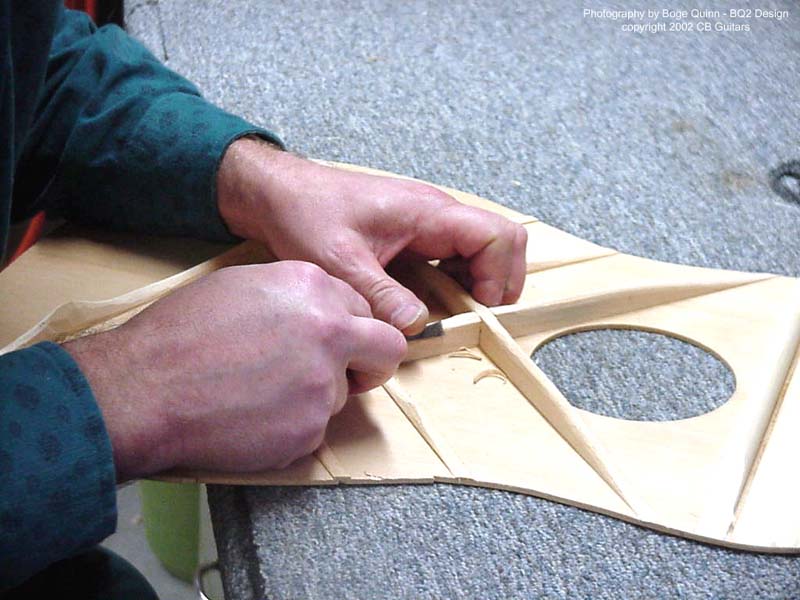
The area where the main "X"
braces meet is sculpted with a chisel. |
 |
|
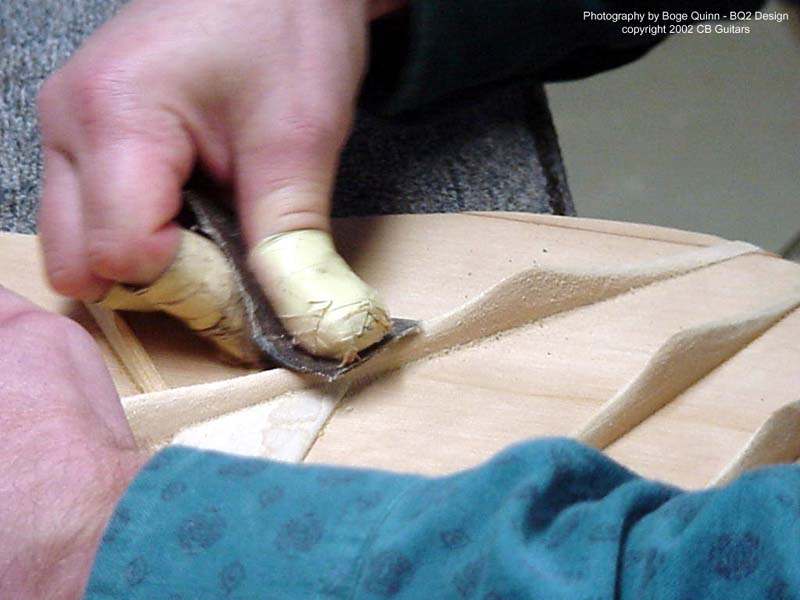
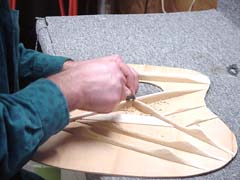
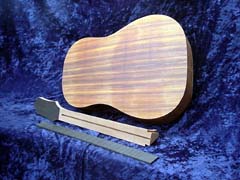
Once the braces are scalloped to
their final shape, Chris smoothes and
fine-tunes the braces using sandpaper. |

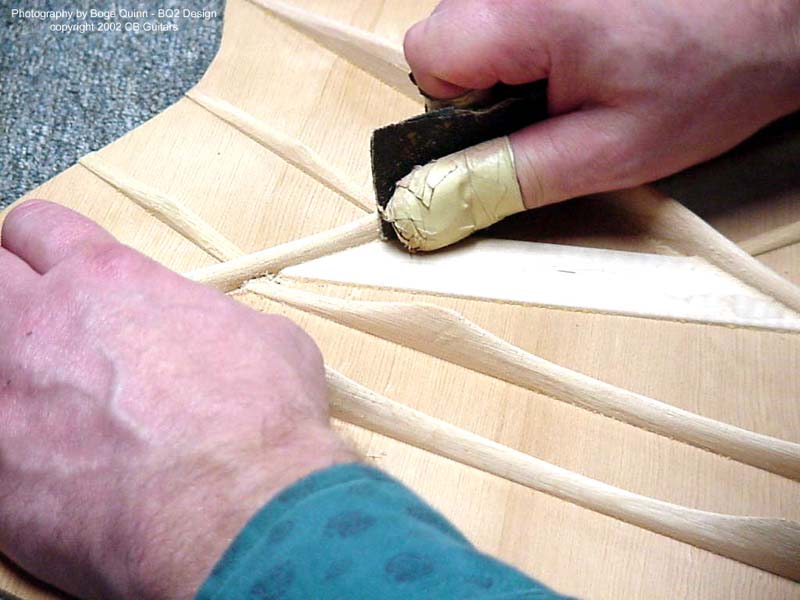
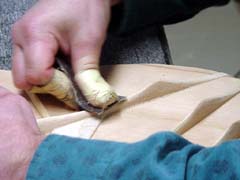
Continuing with the sandpaper, Chris
tap-tunes the top, fine-tuning the
locations of the "live" areas
of the top for maximum response, and carefully shaping and
smoothing the braces until the desired
resonant qualities are achieved. A
practiced ear as well as skilled hands
are required here, as is the knowledge
of how the top will interact with the
specific set of wood chosen for the back
and sides of the guitar. |
|
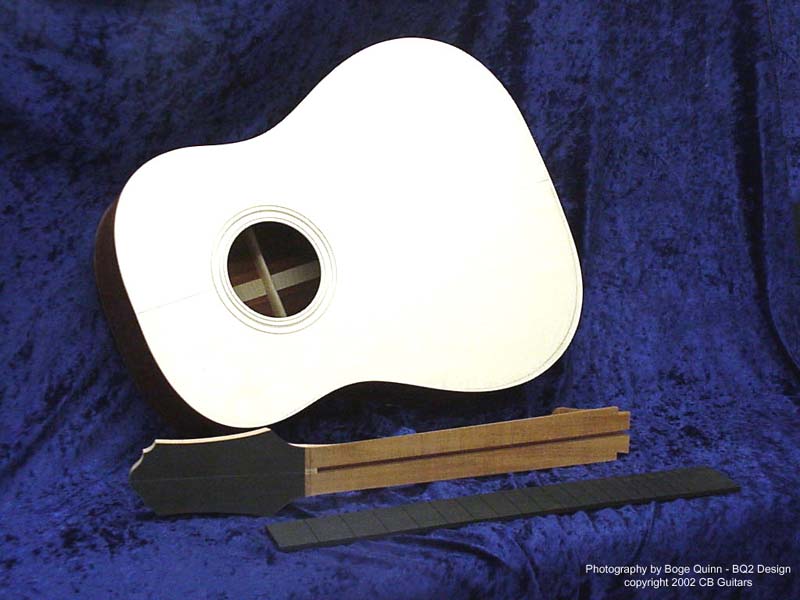
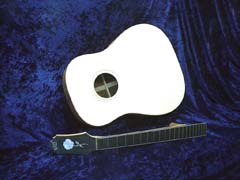
The body has been assembled, and the
neck has been rough-shaped. Peghead
veneer has been installed, the channel
for the adjustable truss rod has been
cut, and the fretboard has been profiled
and slotted for frets. |
 |
|
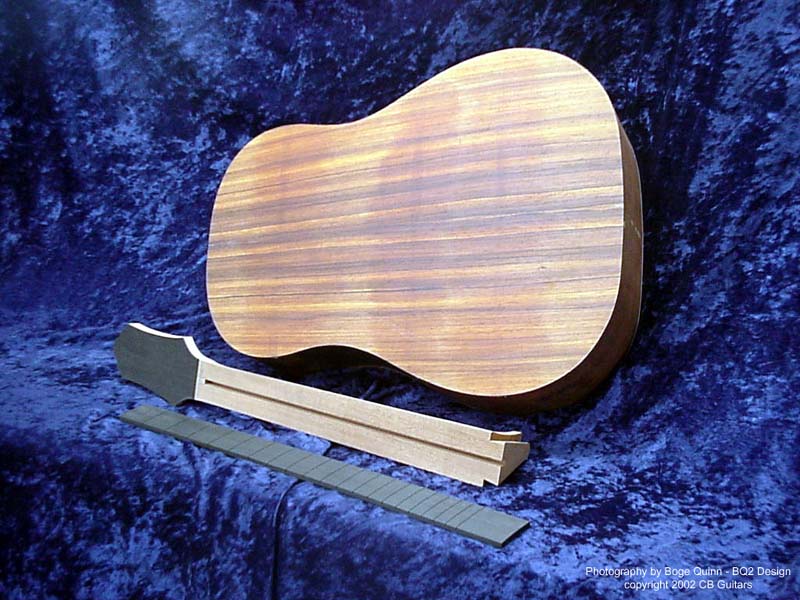
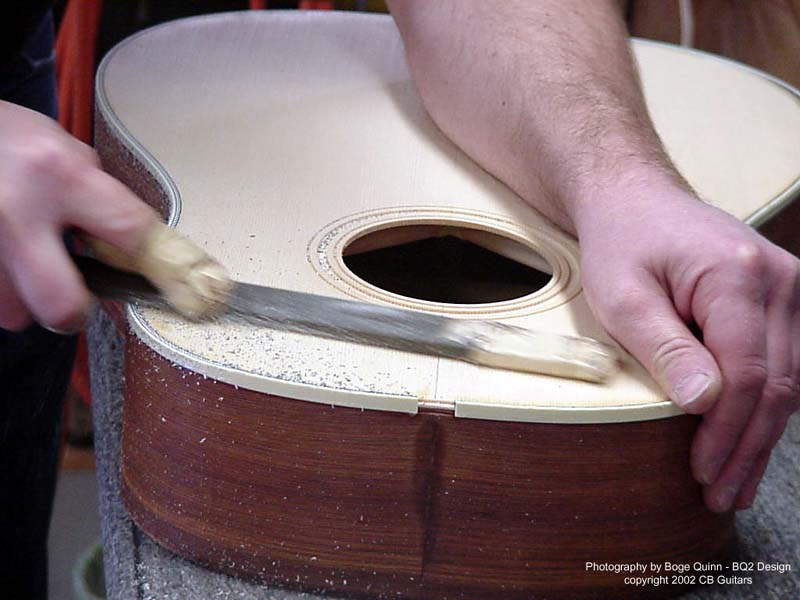
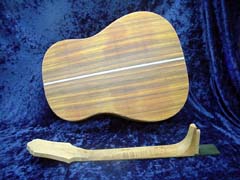
The body has been prepped and routed
for binding. The neck is nearly
complete, with adjustable truss rod and
fretboard installed. Peghead inlay is
complete, inner purfling of fretboard
has been glued in place, and frets have
been installed in the fretboard. Outer
binding of the fretboard will be glued
on and finished to the ends of the frets
at a later stage. |
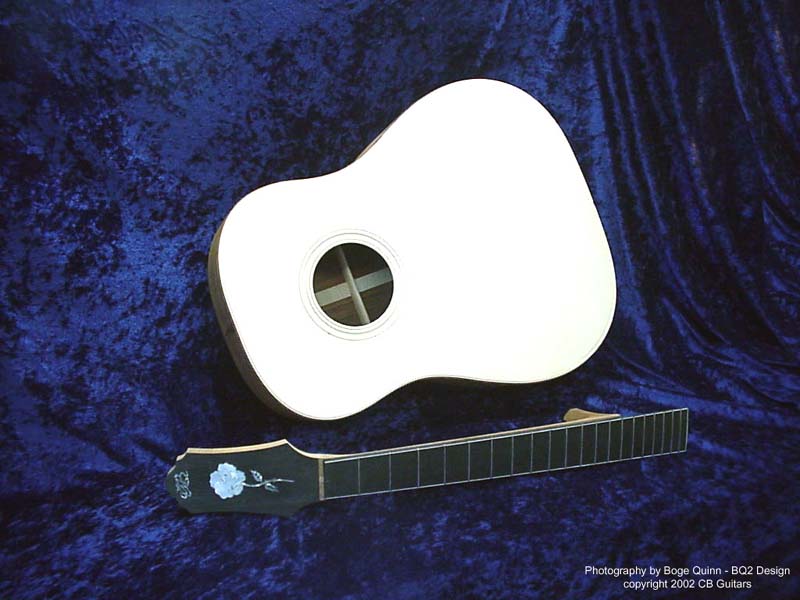
Body now has "Zig-Zag" back
strip glued in place. Pencil marks on
upper bout are guide marks used for
routing the binding ledges. |
|

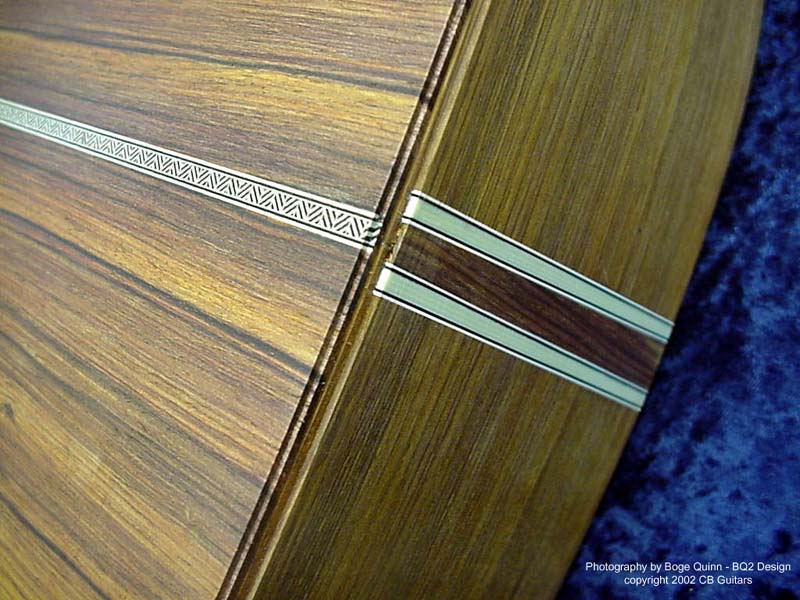
Detail shows "Zig-Zag" back
strip and inlaid purfling at end pin
area. Wooden insert at end pin appears
to be a different color due to the
lighting, but is actually an identical
piece of Cocobolo with the grain turned
at 90 degrees. Routed ledges for outer
binding and inner purfling are apparent. |

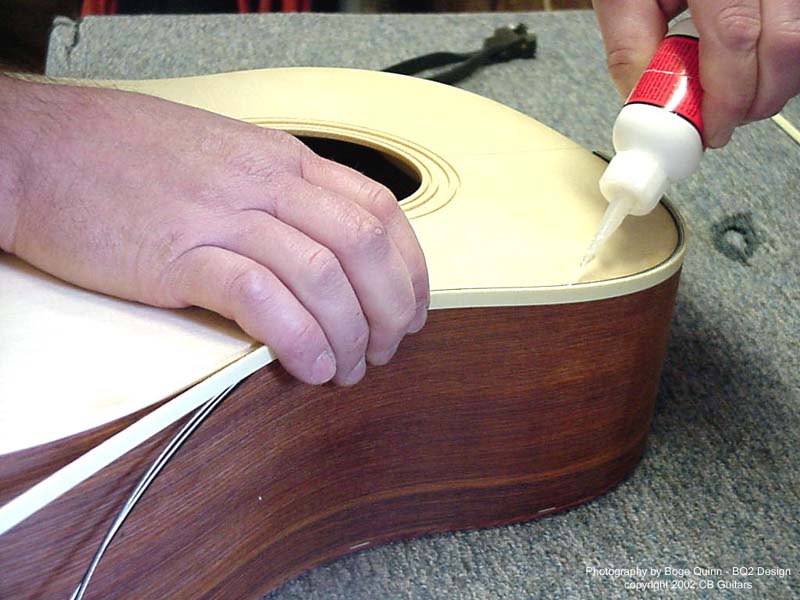
Grained Ivoroid binding is applied with
quick-setting epoxy. Binding is
hand-fabricated by Chris from sheet stock,
so many binding choices are available. |
|

Binding continues around the top.
Inner purfling and outer binding are
applied at the same time. |
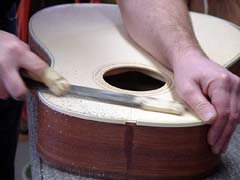
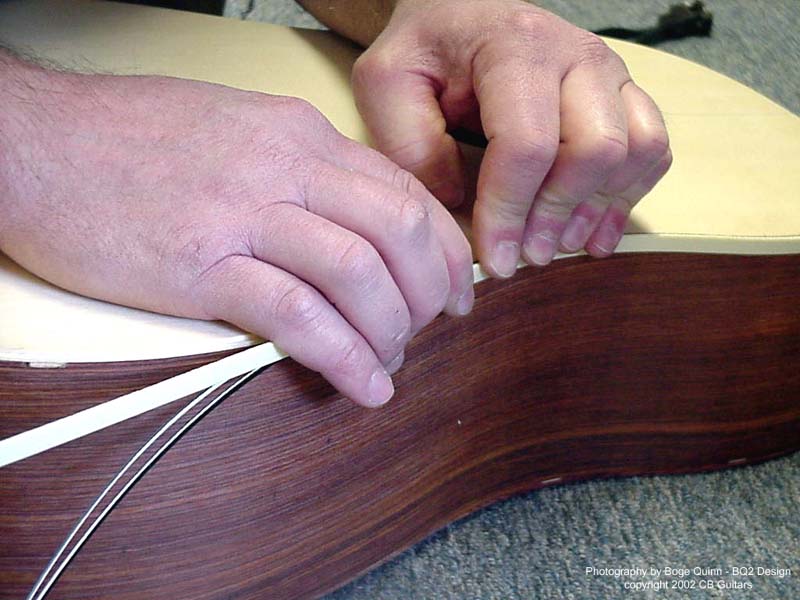
Once the epoxy for the
binding has sufficiently
set, Chris levels the
binding to the top with a
file.
|
|
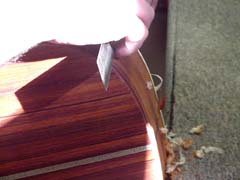
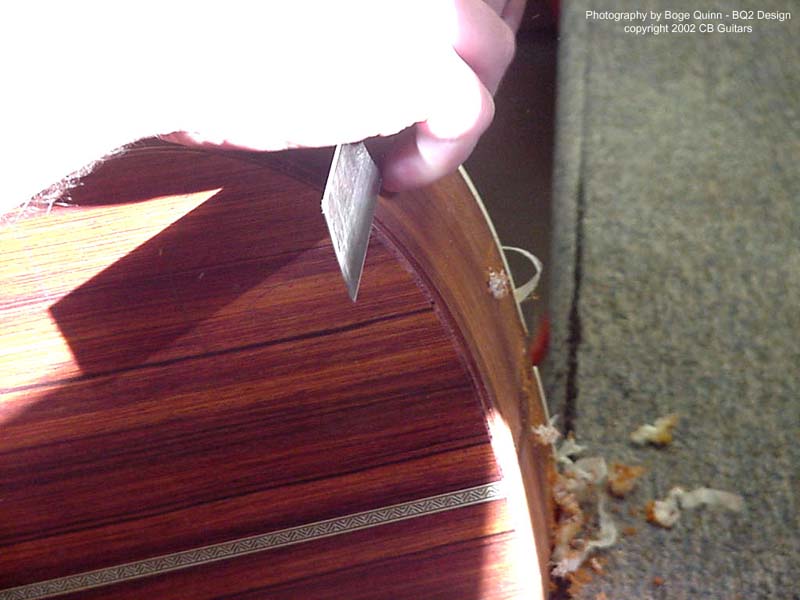
Next, the binding is
scraped from the side with a
blade, removing any excess
glue and truing the binding
surface with the sides. |
Continue
to Next Page
Last modified: November 28, 2015
|